Under WLAN setting, select the Security tab to configure the SSID security settings. From the Layer 2 Security drop-down menu, select the appropriate security scheme to use. You can also check the MAC Filtering check box to use the client MAC addresses as authentication credentials.
Layer 2 WLAN Security Types
Option Description
None Open authentication
WPA+WPA2 Wi-Fi protected access WPA or WPA2
802.1x EAP authentication with dynamic WEP
Static WEP WEP key security
Static WEP+802.1x EAP authentication or static WEP
CKIP Cisco Key Integrity Protocol
None+EAP Passthrough Open authentication with remote EAP authentication

If you choose a Layer 2 security scheme that requires a RADIUS server, the controller will use the global list of servers you have defined under Security > AAA > RADIUS > Authentication. You can override that list by identifying up to three specific RADIUS servers in the WLAN configuration. Display the AAA Servers tab, then under each server, you can select server IP address from the drop-down menu of globally defined servers. Servers 1, 2, and 3 are tried in sequential order until one of them responds.

By default, a centralized controller will contact a RADIUS server from its management interface. You can override this behavior by checking the box next to the Radius Server Overwrite Interface, so that the controller sources RADIUS requests from the dynamic interface that is associated with the WLAN.
A converged controller is configured similarly, except that a method list is used to specify the authentication servers. Method lists are configured under Configuration > Security > AAA > Method Lists.

If your environment is relatively small or you do not have a RADIUS server in production, you can use an authentication server that is built in the WLC. This is called Local EAP, which supports, LEAP, EAP-FAST, PEAP, and EAP-TLS.
I've configured Local EAP in my wireless lab with SSIDs using PEAP and EAP-FAST authentication. There's a short Youtube video which helped me with the setup.
PEAP
PEAP uses the digital certificate from the WLC for client authentication. You create Local EAP profiles on the WLC under Security > Local EAP > Profiles > New > click PEAP > Apply.


Create local users on WLC by going to AAA > Local Net Users > New.


You can choose the authentication method on and setting its priority, you go go to Security > Local EAP > Authentication Priority.

Create the SSID that will use PEAP by going to WLAN > Create New > click Go.

Create a Profile Name and SSID > click Enabled under Status.


Leave the default policies under Security > Layer 2 and Layer 3 tabs.


Under AAA Servers tab > Local EAP Authentication > Enabled > choose LOCAL_PEAP under EAP Profile.

You can also select the authentication methods and its priority under AAA Servers tab > Order Used For Authentication > choose only LOCAL > click Apply.

You can view the newly created SSID LOCAL_PEAP using inSSIDer. The client's wireless adapter which runs inSSIDer shouldn't be connected to wireless in order to scan neighboring SSIDs. My laptop's wireless adapter can only support the 2.4 GHz radio.

I've used my iPhone for testing the SSID and its PEAP policy. Type the username and password created locally on the WLC and click Join. Click Trust to install the WLC's digital certificate.


Look for EAP Type on the WLC under Monitor > Client > click the MAC address.


EAP-FAST
You'll need to install a third party software in order to create and push a client profile to support EAP-FAST. I've downloaded and used the iPhone Configuration Utility tool for my wireless lab.

To create a new profile, go to Configuration Profiles > New.

Fill up Profile Name, Identifier, organization, etc.


Go to Wi-Fi > Configure > type SSID > select Any (Enterprise) under Security Type > tick EAP-FAST under Accepted EAP Types > tick all PAC options under Configuration of Protected Access Credentials (PAC).


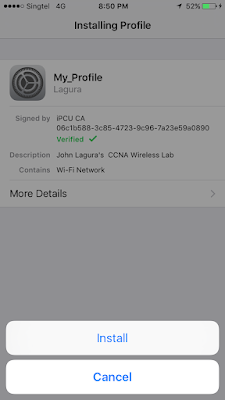
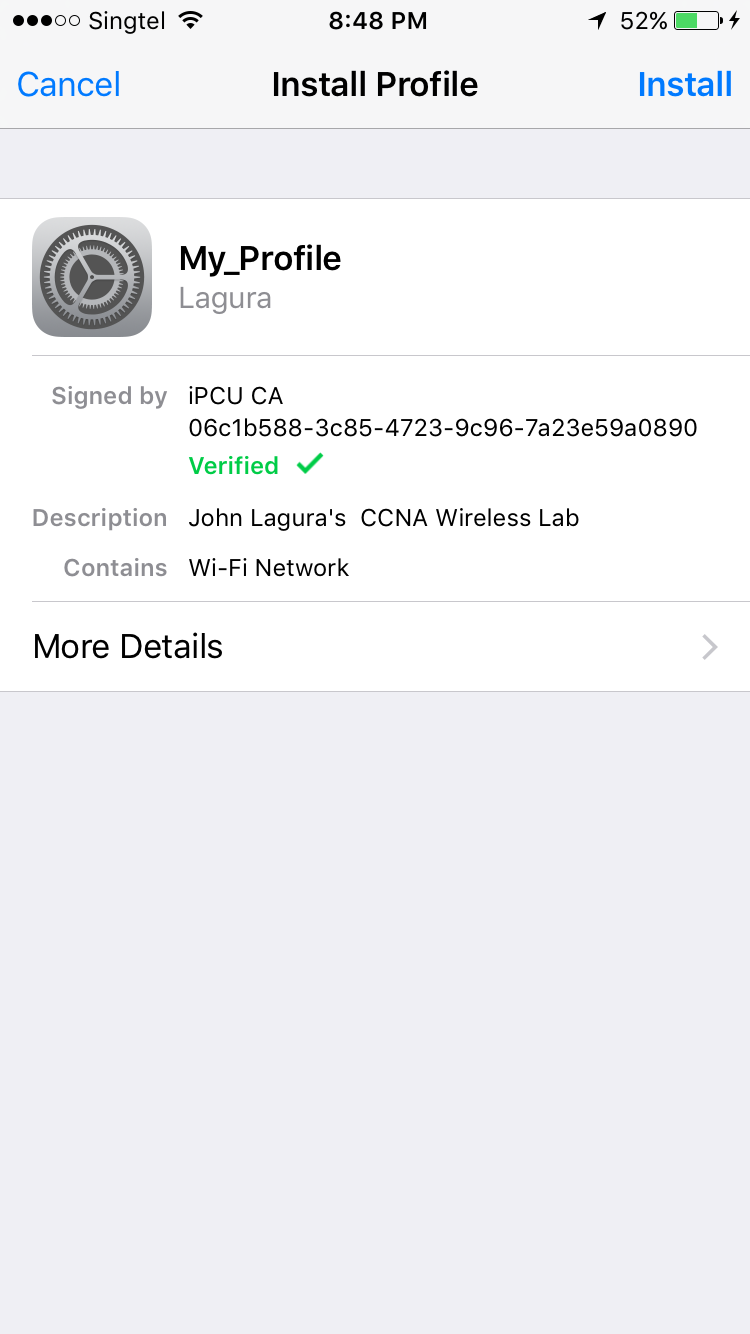
Once finished, upload the newly created profile by clicking on the iPhone name under Devices > go to Configuration Profiles tab > select the created profile > click Install.

You'll get a pop-up message saying your iPhone is password locked. Unlock the iPhone in order to continue with the installation.

If it still can't push the profile, re-insert the iPhone's USB/lightning cable.

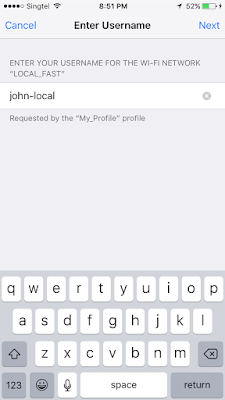
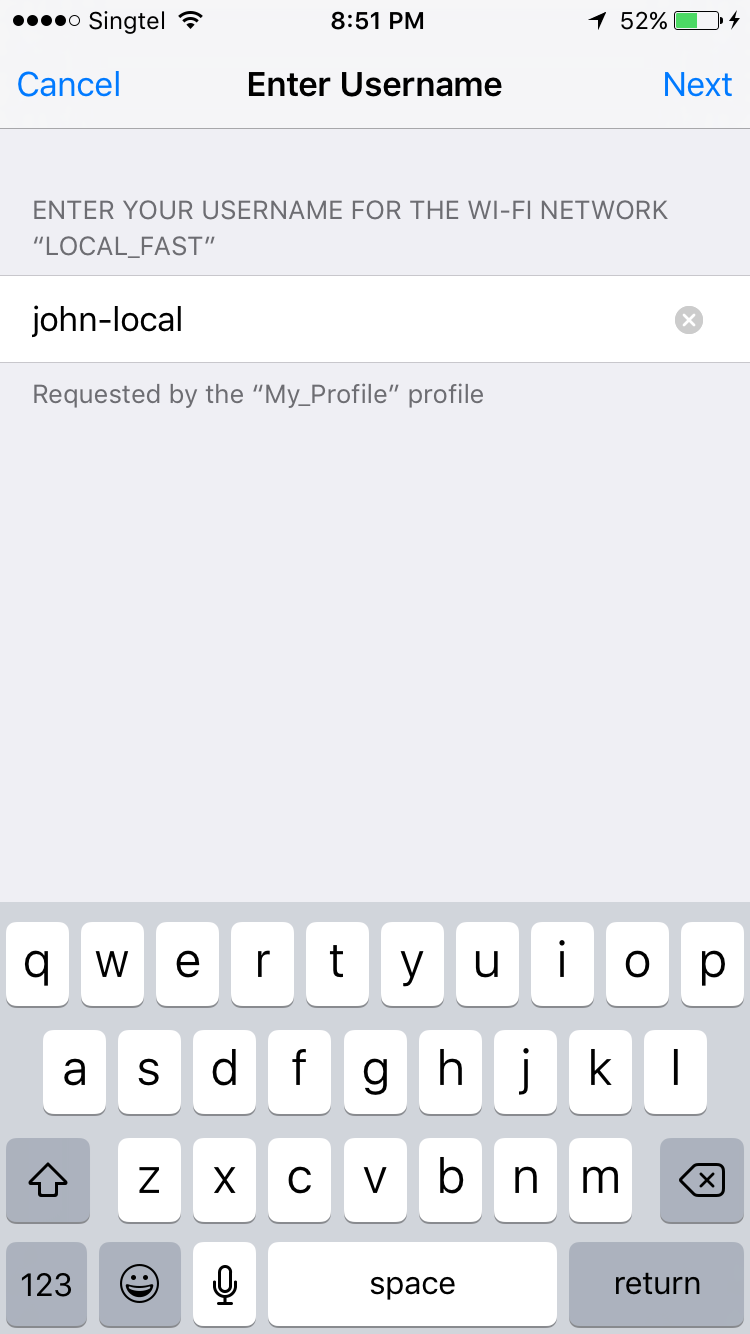
Click Install on the iPhone > enter iPhone password > click Install > enter the local username and password created on the WLC > click Next and click Done


Create the SSID that will use LOCAL_FAST authentication by going to WLANs > Create New > Go > LOCAL_FAST > Apply.

Under WLAN go to General > under Status click Enabled.

Also leave the default policies under Security > Layer 2 and Layer 3 tabs. Under AAA Servers > Local EAP Authentication > Enabled > choose LOCAL_FAST under EAP Profile Name and under Order Used For Authentication > choose only LOCAL > Apply

I've used inSSIDer again to verify the newly created SSID.

Select LOCAL_FAST on the iPhone Wi-FI network setting.

To verify, look for EAP-FAST Type in WLC under Monitor > Client > click the MAC address.


Layer 2 WLAN Security Types
Option Description
None Open authentication
WPA+WPA2 Wi-Fi protected access WPA or WPA2
802.1x EAP authentication with dynamic WEP
Static WEP WEP key security
Static WEP+802.1x EAP authentication or static WEP
CKIP Cisco Key Integrity Protocol
None+EAP Passthrough Open authentication with remote EAP authentication

If you choose a Layer 2 security scheme that requires a RADIUS server, the controller will use the global list of servers you have defined under Security > AAA > RADIUS > Authentication. You can override that list by identifying up to three specific RADIUS servers in the WLAN configuration. Display the AAA Servers tab, then under each server, you can select server IP address from the drop-down menu of globally defined servers. Servers 1, 2, and 3 are tried in sequential order until one of them responds.

By default, a centralized controller will contact a RADIUS server from its management interface. You can override this behavior by checking the box next to the Radius Server Overwrite Interface, so that the controller sources RADIUS requests from the dynamic interface that is associated with the WLAN.
A converged controller is configured similarly, except that a method list is used to specify the authentication servers. Method lists are configured under Configuration > Security > AAA > Method Lists.

If your environment is relatively small or you do not have a RADIUS server in production, you can use an authentication server that is built in the WLC. This is called Local EAP, which supports, LEAP, EAP-FAST, PEAP, and EAP-TLS.
I've configured Local EAP in my wireless lab with SSIDs using PEAP and EAP-FAST authentication. There's a short Youtube video which helped me with the setup.
PEAP
PEAP uses the digital certificate from the WLC for client authentication. You create Local EAP profiles on the WLC under Security > Local EAP > Profiles > New > click PEAP > Apply.


Create local users on WLC by going to AAA > Local Net Users > New.


You can choose the authentication method on and setting its priority, you go go to Security > Local EAP > Authentication Priority.

Create the SSID that will use PEAP by going to WLAN > Create New > click Go.

Create a Profile Name and SSID > click Enabled under Status.


Leave the default policies under Security > Layer 2 and Layer 3 tabs.


Under AAA Servers tab > Local EAP Authentication > Enabled > choose LOCAL_PEAP under EAP Profile.

You can also select the authentication methods and its priority under AAA Servers tab > Order Used For Authentication > choose only LOCAL > click Apply.

You can view the newly created SSID LOCAL_PEAP using inSSIDer. The client's wireless adapter which runs inSSIDer shouldn't be connected to wireless in order to scan neighboring SSIDs. My laptop's wireless adapter can only support the 2.4 GHz radio.

I've used my iPhone for testing the SSID and its PEAP policy. Type the username and password created locally on the WLC and click Join. Click Trust to install the WLC's digital certificate.


Look for EAP Type on the WLC under Monitor > Client > click the MAC address.


EAP-FAST
You'll need to install a third party software in order to create and push a client profile to support EAP-FAST. I've downloaded and used the iPhone Configuration Utility tool for my wireless lab.


Fill up Profile Name, Identifier, organization, etc.


Go to Wi-Fi > Configure > type SSID > select Any (Enterprise) under Security Type > tick EAP-FAST under Accepted EAP Types > tick all PAC options under Configuration of Protected Access Credentials (PAC).


Once finished, upload the newly created profile by clicking on the iPhone name under Devices > go to Configuration Profiles tab > select the created profile > click Install.

You'll get a pop-up message saying your iPhone is password locked. Unlock the iPhone in order to continue with the installation.

If it still can't push the profile, re-insert the iPhone's USB/lightning cable.

Click Install on the iPhone > enter iPhone password > click Install > enter the local username and password created on the WLC > click Next and click Done


Create the SSID that will use LOCAL_FAST authentication by going to WLANs > Create New > Go > LOCAL_FAST > Apply.

Under WLAN go to General > under Status click Enabled.

Also leave the default policies under Security > Layer 2 and Layer 3 tabs. Under AAA Servers > Local EAP Authentication > Enabled > choose LOCAL_FAST under EAP Profile Name and under Order Used For Authentication > choose only LOCAL > Apply

I've used inSSIDer again to verify the newly created SSID.


To verify, look for EAP-FAST Type in WLC under Monitor > Client > click the MAC address.


No comments:
Post a Comment