
Next, enter the server's IP address, shared secret key, and port number. Be sure to set the server status to Enabled to that the controller can begin using it. At the bottom of the page, you can select the type of user that will be authenticated with the server. Check Network User to authenticate wireless clients or Management to authenticate wireless administrators that will access the controller's management functions. Click Apply to complete the server configuration.


You can do a quick ping test to the RADIUS server by clicking the blue arrow (pointing downward), choose Ping and type the RADIUS server IP address.

Step 1 - Select Configuration > Security.
Step 2 - Under Security > AAA > RADIUS > Servers, click the New button to create a new RADIUS server entry. Enter the server's name, IP address, and shared secret key string. Repeat this step to create any further RADIUS servers.

Step 3 - Create a RADIUS server group by selecting Security > AAA > Server Groups > RADIUS. Move desired servers from the Available Servers list to the Assigned Servers list.

Step 4 - Select Security > AAA > Method List > Authentication and define a new method that uses the RADIUS server. Move desired server groups from the Available Server Groups list to the Assigned Server Groups list.


In my wireless lab, I've used a Cisco Identity Services Engine (ISE) server (version 1.2) in dCloud to act as a RADIUS server and created a new SSID ISE-RADIUS-WIFI on my WLC. For the WLAN policy, I chose WPA+WPA2 for Layer 2 Security and None for Layer 3 Security.

The steps are similar for RADIUS Accounting on a WLC.


Create a new SSID under WLANs > Create New and click Go.


Select the RADIUS server that was created earlier under WLANs > Security > AAA Servers.

Under the Advanced tab, tick Allow AAA Override, DHCP Profiling (for ISE device profiling) and choose Radius NAC under NAC State.


You can verify the new created SSID using a free wifi analyzer such as InSSIDer.


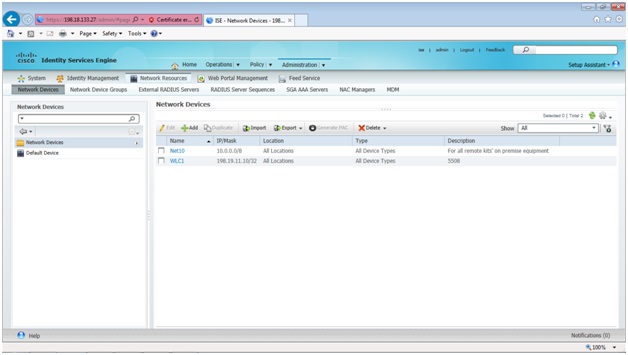
Type the device name, management IP address and its shared secret key (same on the WLC).


Add local users on ISE under Administration > Identities > Users > Add.


I wasn't able to associate successfully on the new SSID since there's a default ISE policy that's blocking me.


I've temporarily permitted all access, allowed profiled Apple device on ISE server policy.


